Microsoft’s advanced cloud sharing portal for developers is known as Microsoft Azure. It offers storing troves of data such as app settings, configuration files, application logs, virtual machine components and enables developers to easily monitor, create, upload, download their data and alter share size quota. Azure, which supports Microsoft PowerShell command-lines, uses the Microsoft SMB Protocol so that developers can even access their files using I/O API calls, file systems and other similar means. Azure offers fully functional data sharing support for mounted shares and on-premises applications.
Over times, Microsoft Azure gets clogged with GBs of duplicate files while working with bulk files in an organization/ enterprise. These dupes can cause all sorts of problems – from disorganization/ mess of your portal to eating up precious space to exceeding the maximum file share quota. A duplicate file can abil you out in such a situation. It’ll make additional room for new data by deleting junk files in bulk. It tracks down each file stored on Microsoft Azure cloud portal and saves your time, improves the way your data is organized on the cloud.
Step # 1: Create a New File Share
You need to download the files before you search for duplicates. Downloading isn’t permitted as long as you don’t have a file share. Create a new file share with permitted quota limit by following the guidelines given below:
- Sign in to your Microsoft Azure portal through the official link: https://azure.microsoft.com/en-us/
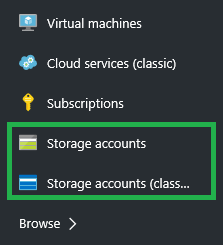
- Click Storage Accounts on the Navigation menu.
- Select your active account in the Storage Accounts page.
- Click Files in the Services page.
- Click File Shares.
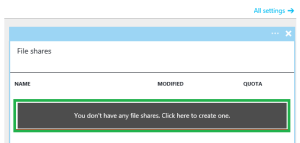
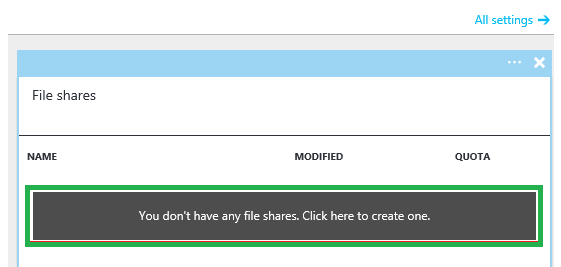
- Click the large grey colored button titled You don’t have any file shares. Click here to create one.
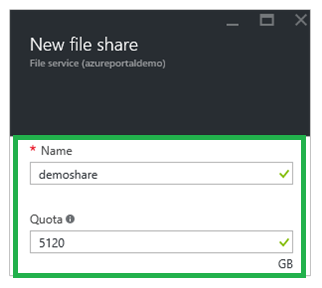
- Specify a name for your file share. For example: DemoShare.
- Specify a quota. The maximum quota limit is 5120 GB.
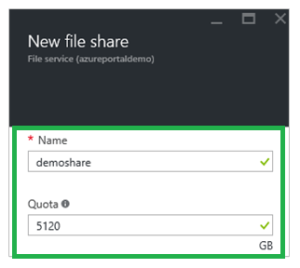
Specify the quota - That’s it, your new file share is now created and ready to use.
Step # 2: Download your Files & Projects
Download all files you wish to scan for duplicates to your local hard disk.
- Select the file share you intend to search for duplicates.
- Go to the root folder that contains the files you intend to download.
- Right-click the root folder or multiple files and select Download.
Step # 3: Scan for Duplicates
- Download Sorcim’s duplicate cleaning tool Clone Files Checker.
- Install and launch the newly downloaded program.
- The main user interface can be classified into three parts – drive/ folder selection, scan customization and results.
- On the left, select the folder where you recently downloaded Microsoft Azure.
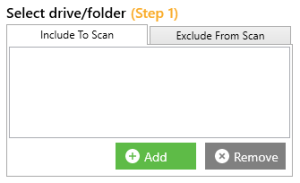
- In the Search Options section, choose All Files if you intend to scan for all sorts of duplicate files, or Custom if you intend to scan only specific set of duplicates.
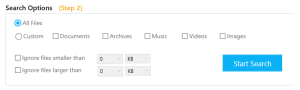
Choose All Files - Start the scan.
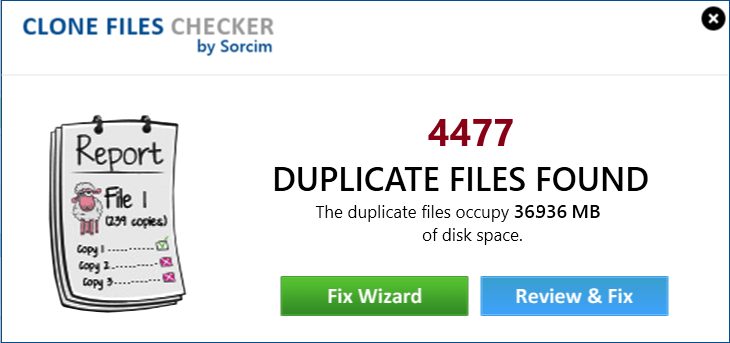
- Once the scan is finished, you’ll see results on your screen in the bottom. (Review & Fix)
- If you select Fix Wizard option, carefully read the follow-up instructions and go through the wizard.

Scan Results


Actions
- Delete Duplicates: Removes all duplicates without moving them to the Recycle Bin. Choose this option to immediately free up storage space.
- Move Duplicates: Moves all duplicate files to a certain folder on the hard disk. Choose this option if you wish to review the files at a later point of time before deleting them.
Step # 4: Upload Original Files on Server
Finally, you’ve got to upload the original content on the cloud.
- Go to your file share on the Microsoft Azure portal.
- Click the Upload icon on the toolbar.
- Browse and select the folder you just scanned for duplicates.
That’s it folks, you’ve recovered a precious amount of space on your Microsoft Azure cloud portal courtesy an effective cloud scan.

Warning: Undefined array key "author_box_bio_source" in /home1/clonefil/public_html/blog/wp-content/plugins/molongui-authorship/views/author-box/parts/html-bio.php on line 2
Raza Ali Kazmi works as an editor and technology content writer at Sorcim Technologies (Pvt) Ltd. He loves to pen down articles on a wide array of technology related topics and has also been diligently testing software solutions on Windows & Mac platforms. If you have any question about the content, you can message me or the company's support team.