File History is a sophisticated function in Windows which was introduced for the first time with Windows 8, and has managed to find a place in every subsequent Windows variant courtesy its popularity.
This feature “logs” every single change you make to any given file on the hard drive. This is done just to bail you out in the case if you need to reverse any particular instance of a change made in a file later on. Even though it has been subjected to tremendous amount improvement, bugs do make an appearance sometimes. This article intends to discuss how to tackle this particular problem which causes duplicate entries in the File History. It’s recommended you clean the duplicate files in your Windows 10. Use Clone Files Checker and save disk space. Download it here:
CFC adheres to Clean Software Association Guidelines
Solutions
Solution 1: Keep The Operating System Up-To-Date
Windows is designed to update on it’s own from Windows 10 onwards, unless the user chooses to disable this functionality through either Windows Registry or Group Policy. However, in some cases users have to manually scan for any latest Windows updates that might be available. In such a scenario, follow these guidelines to update Windows as this process alone might fix most / all of the strange problems that are affecting your computer.
- Open up the start menu.
- Type Windows Update in the search bar and open it from the Seach Results.
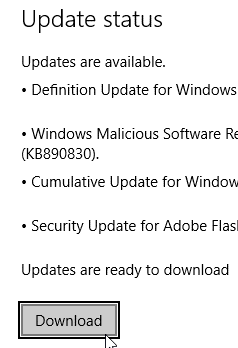
- In the Windows Update window, click on either Download or Check Updates to initiate the scan for any available updates.

Solution 2: Restart The “File History” Service
Some people have reported that restarting File History service can fix this particular duplication issue, but this does not hold true for all the times this trick is tried. One of the key factors behind this could be the version of Windows 10 installed on your system, therefore it’s always better to first update Windows (Solution 1) before going any forward.
- Search for Control Panel in the start menu, and then open it.
- Now locate System and Security, open it.
- Look for File History, click to access it.

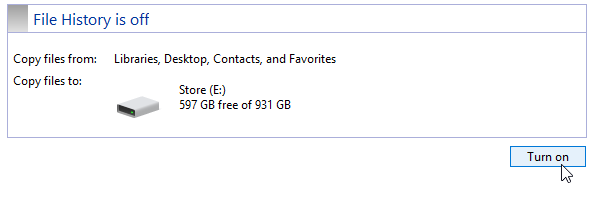
- Click the Turn off button to shut down the File History feature.
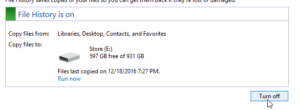
Click Turn off - Switch to the desktop by clicking on the Desktop icon in the Notification Area.
- Search for Settings in the Start menu and open them.
- Locate Update & security. Click it.
- Now lookout for Backup from the menu in the left-hand side of the window and click it.
- Select More options.
- Scroll all the way to the bottom of the window to locate the Stop using drive button. Click it to disable using the current drive for backing up purposes.
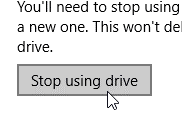
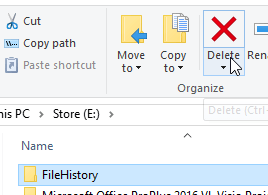
Click Stop using drive - Now navigate to the drive which was used to store the backup files and locate the FileHistory folder. And then delete it permanently.
- Restart the backup service by clicking the Turn on button in the File History window in Control Panel (exact opposite of steps # 2-4 of this solution).
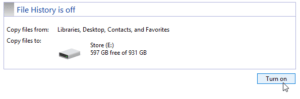
Click Turn on


Warning: Undefined array key "author_box_bio_source" in /home1/clonefil/public_html/blog/wp-content/plugins/molongui-authorship/views/author-box/parts/html-bio.php on line 2
Raza Ali Kazmi works as an editor and technology content writer at Sorcim Technologies (Pvt) Ltd. He loves to pen down articles on a wide array of technology related topics and has also been diligently testing software solutions on Windows & Mac platforms. If you have any question about the content, you can message me or the company's support team.