If you’ve ever wanted to rename bulk files easily, Easy File Renamer is exactly what you’re looking for. Easy File Renamer is a state of the art tool that allows you to rename multiple files at the same time and in the manner you prefer. Renaming files manually is comparatively easy but when the when it comes to renaming the music in your library, most of the people simply give up on giving those files a meaningful name and settle for their system allocated names.
This is another area where Easy File Renamer helps you out. It allows you to add information of your liking to the tags of multiple MP3 music files at the touch of a few clicks. Don’t forget, you can, of course, rename files based on set rules that are easy to edit or you can even draw up a new rule to let you rename files the way you want.
If you want to rename music files or edit tags for music files that are in different formats such as MP4, M4A, AVI etc. you’ll need to download Video Converter Ultimate from the official site for free.
Step #1: After you’ve installed and subsequently launched Video Converter Ultimate, you’ll be greeted by a very easy to use UI. To begin converting music files into their MP3 counterparts, click the Add Files button and select the file(s) you want to add.
Step #2: Once you’re done with adding the files, click on the output format option and choose MP3 as the output format.
Step #3: Finally, click on the blue Convert button located on the bottom right to initiate the conversion process.
Step #4: Once the conversion is over, simply follow steps 1 – 5 from the How to Use The Music Fixer in Easy File Renamer heading.
Whether you’re renaming files or folders, editing MP3 music tags, regardless of the number of the files in operation, Easy File Renamer will get the job done in a quick, efficient and accurate manner to give you properly named files/folders/tags. You can download Easy File Renamer for free at their official site and get the renaming job into motion.
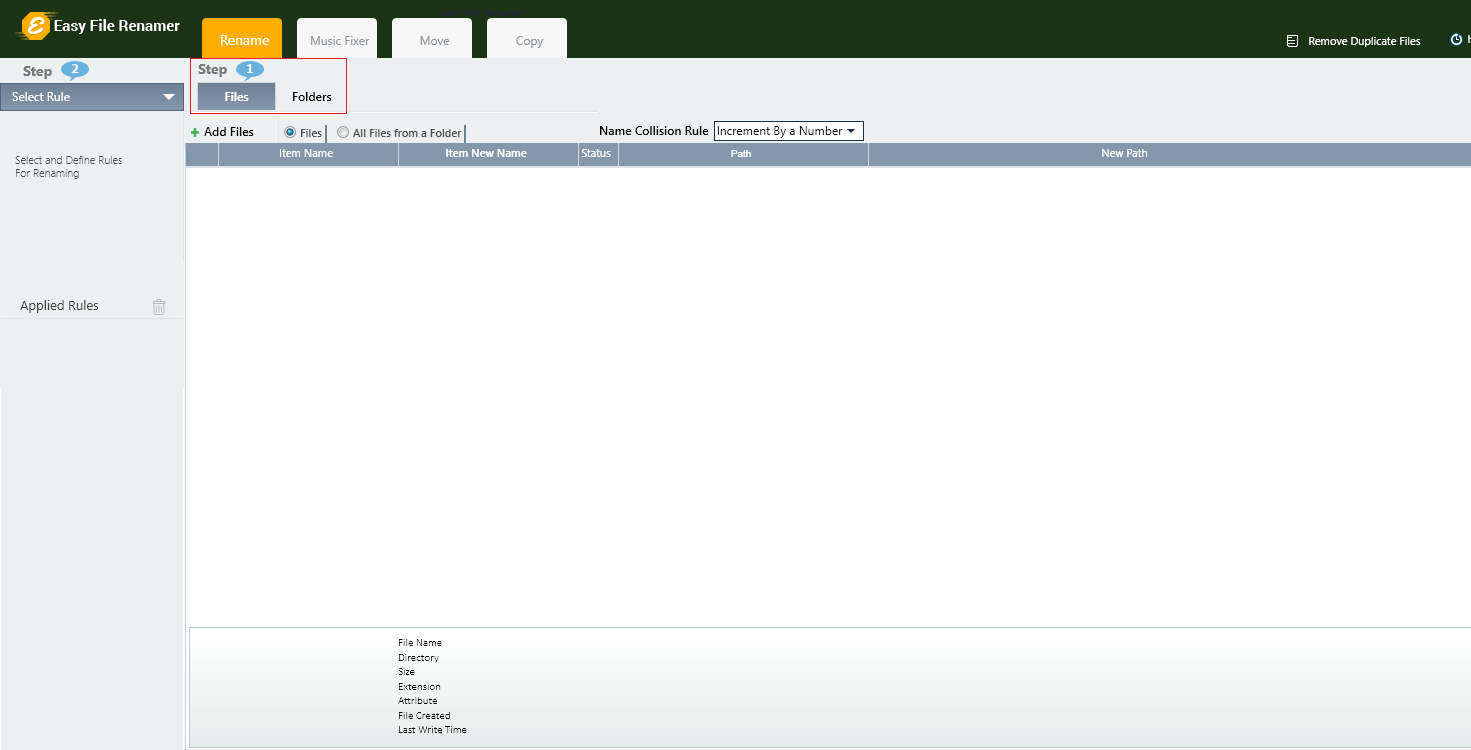
Step #1: Using Easy File Renamer is a quite simple and straightforward process. To get started, launch Easy File Renamer and you’ll be greeted with this user-friendly UI.
Step #2: Choose between renaming Files / Folders. You can also choose to rename MP3 files as well.
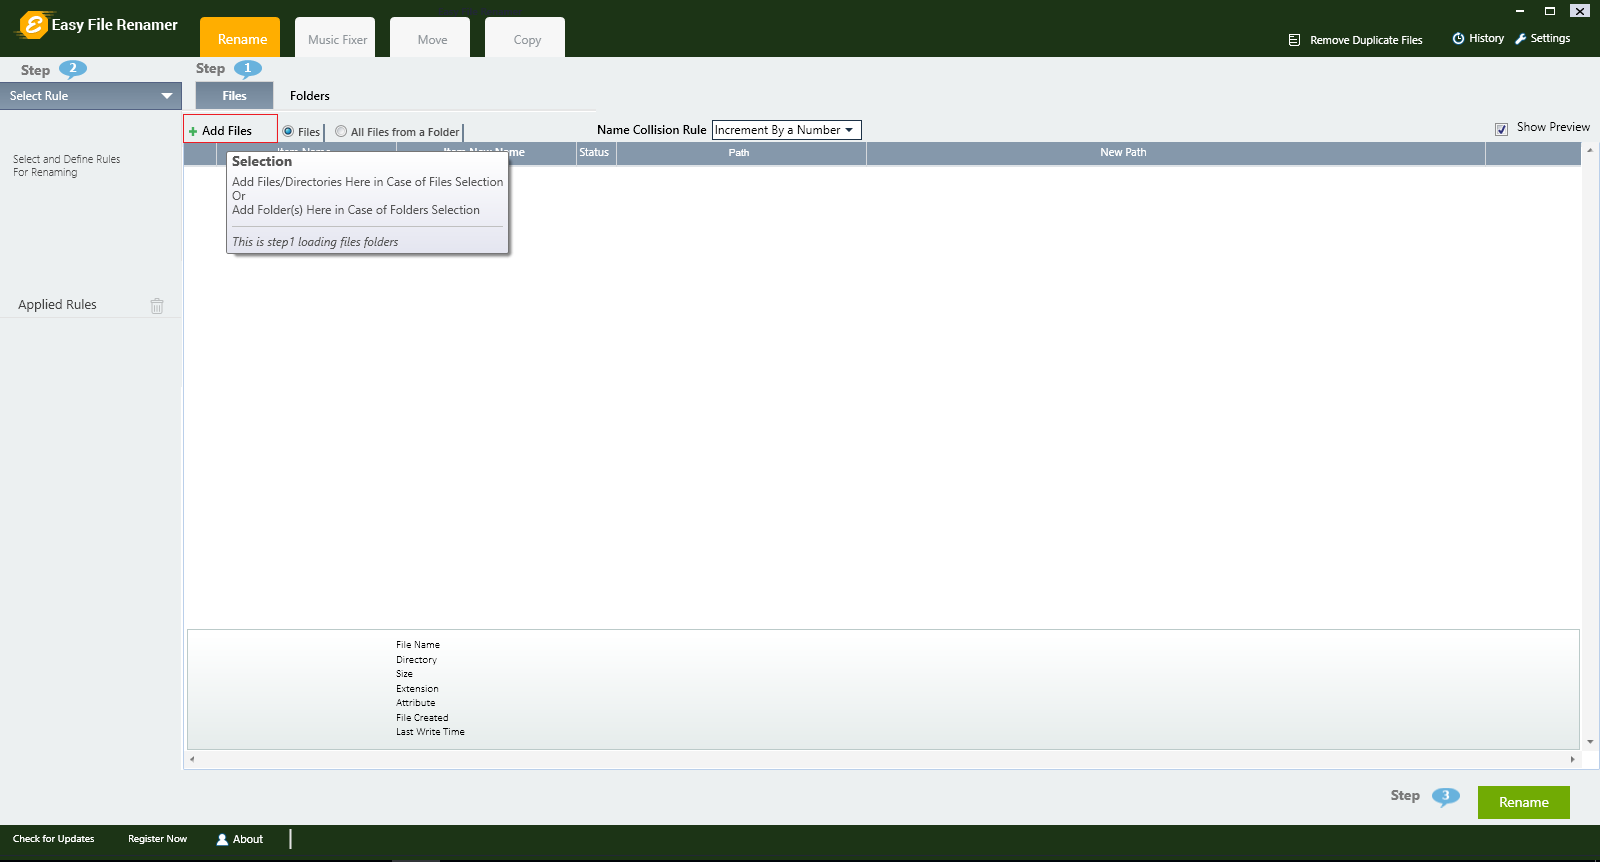
Step #3: Click the Add Files button to navigate to the files you want to rename. Select them and you will see they will be instantaneously added to the queue.
Step #4: To start renaming those files, you’ll have to select the rule which has to be applied for renaming them. The 10 different renaming rules are:
Another handy feature incorporated by Easy File Renamer is that it allows you to apply multiple renaming rules at once. So for instance, you can remove specific text from a filename, add a bit of text as well as add a set of numbers to the same file’s name in one go!
Also, note that the Item New Name column will be showing you the preview of the new filename according to the rule(s) you have selected as well as the rule specific choices you have specified. If all seems ok, jump to the next step.
Step #5: After you’ve added all the files you want to change names/extensions for, and have set the renaming rule(s) you want Easy File Renamer to follow, simply click the green Rename button to unfold the renaming action.
Step #6: Easy File Renamer will prompt you to confirm the renaming of files. Simply click on Yes and the task will be performed swiftly.
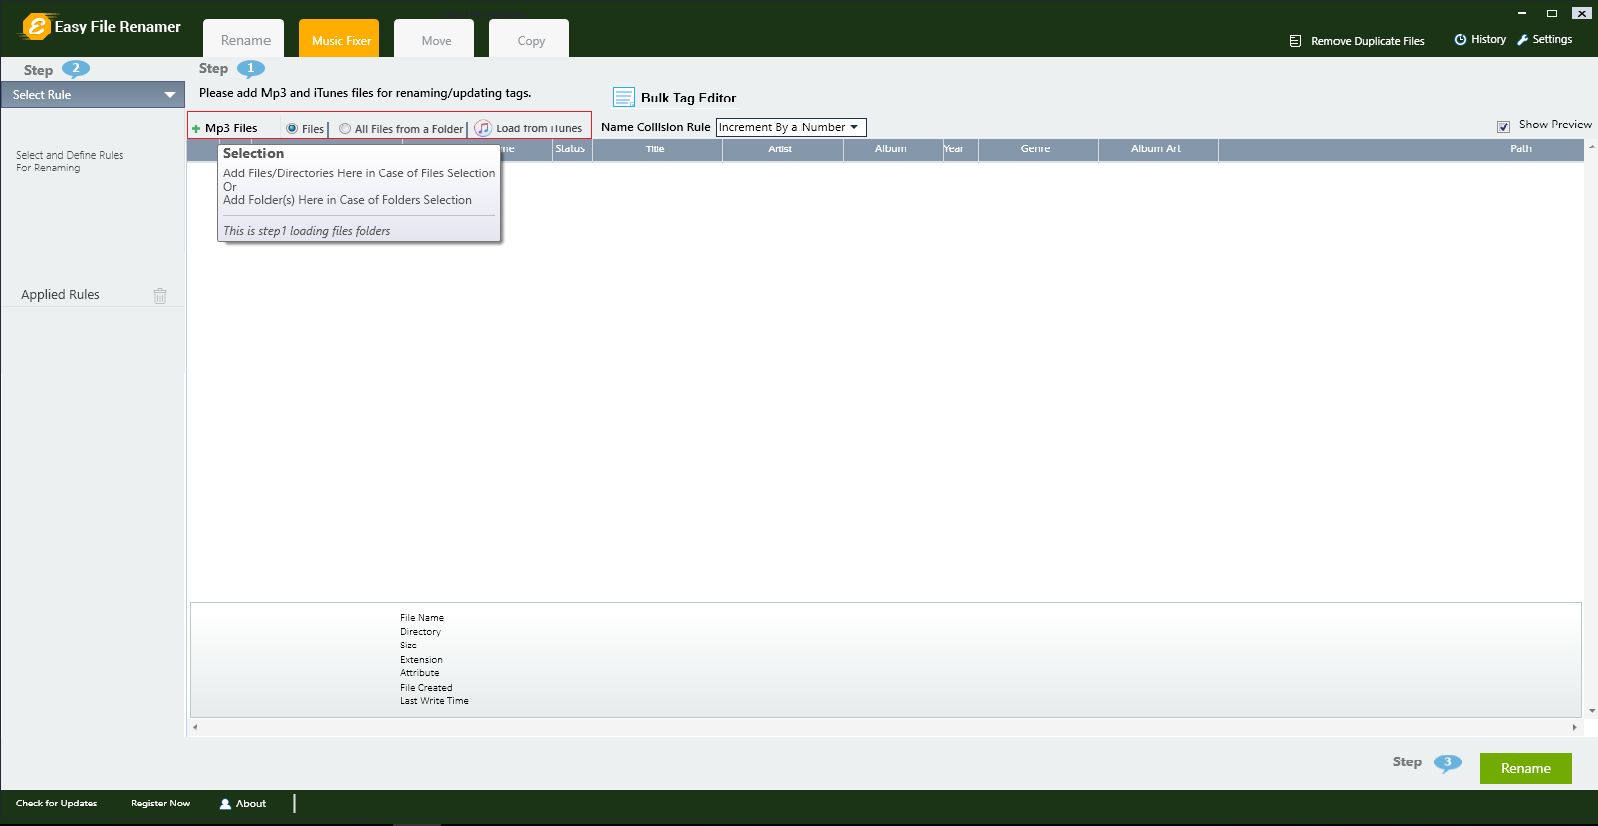
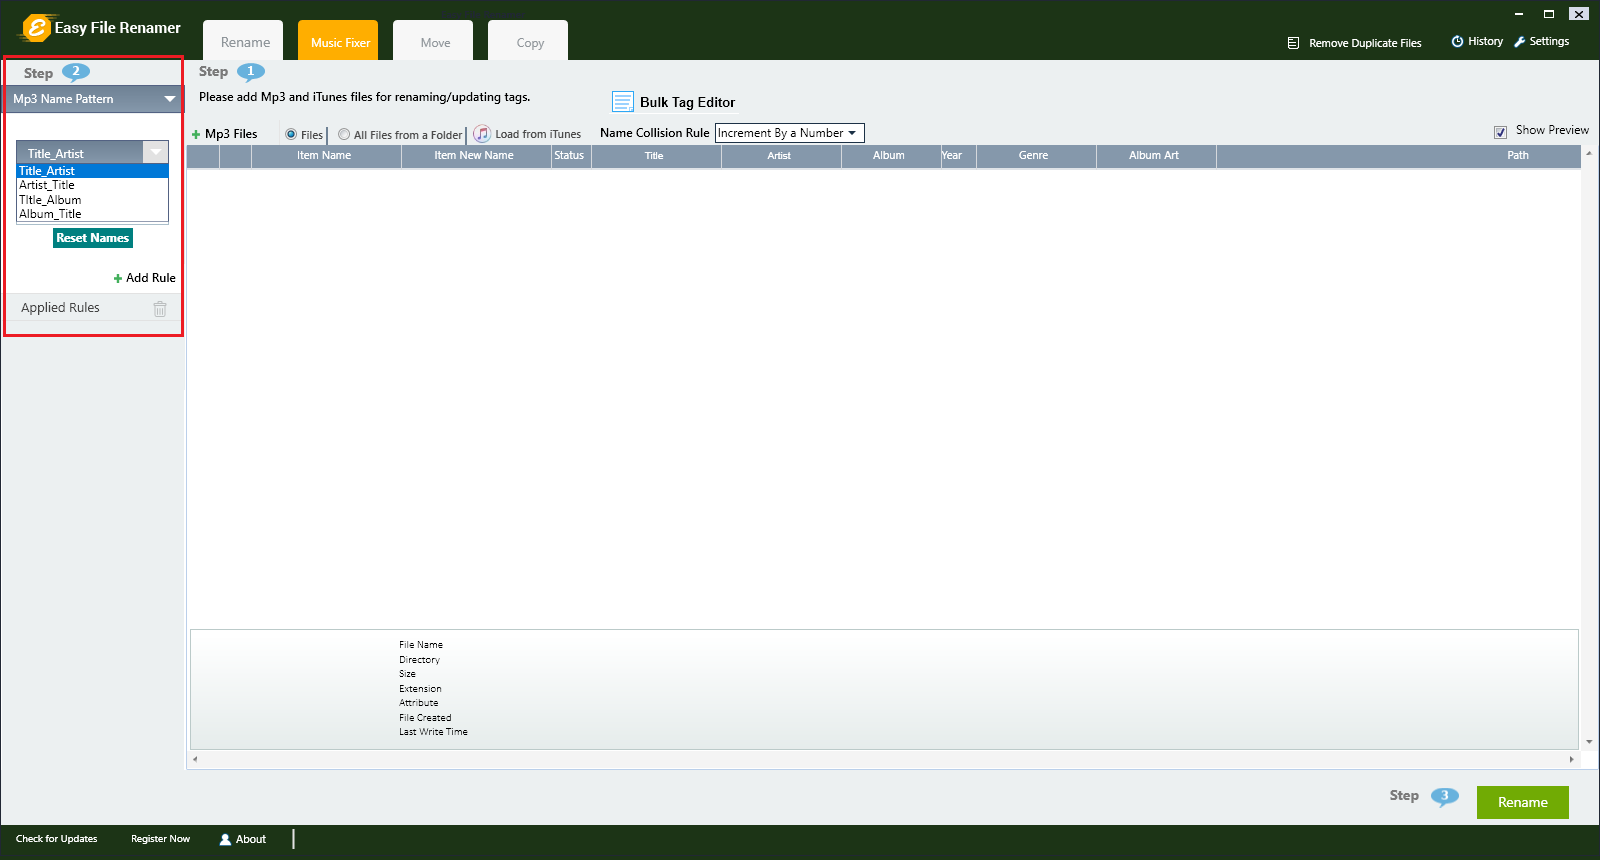
Step #1: To start renaming and editing MP3 file tags, click the Music Fixer tab.
Step #2: You’ll need to add MP3 files to start renaming them / edit their tags. Easy File Renamer provides you with 3 different ways to add music.
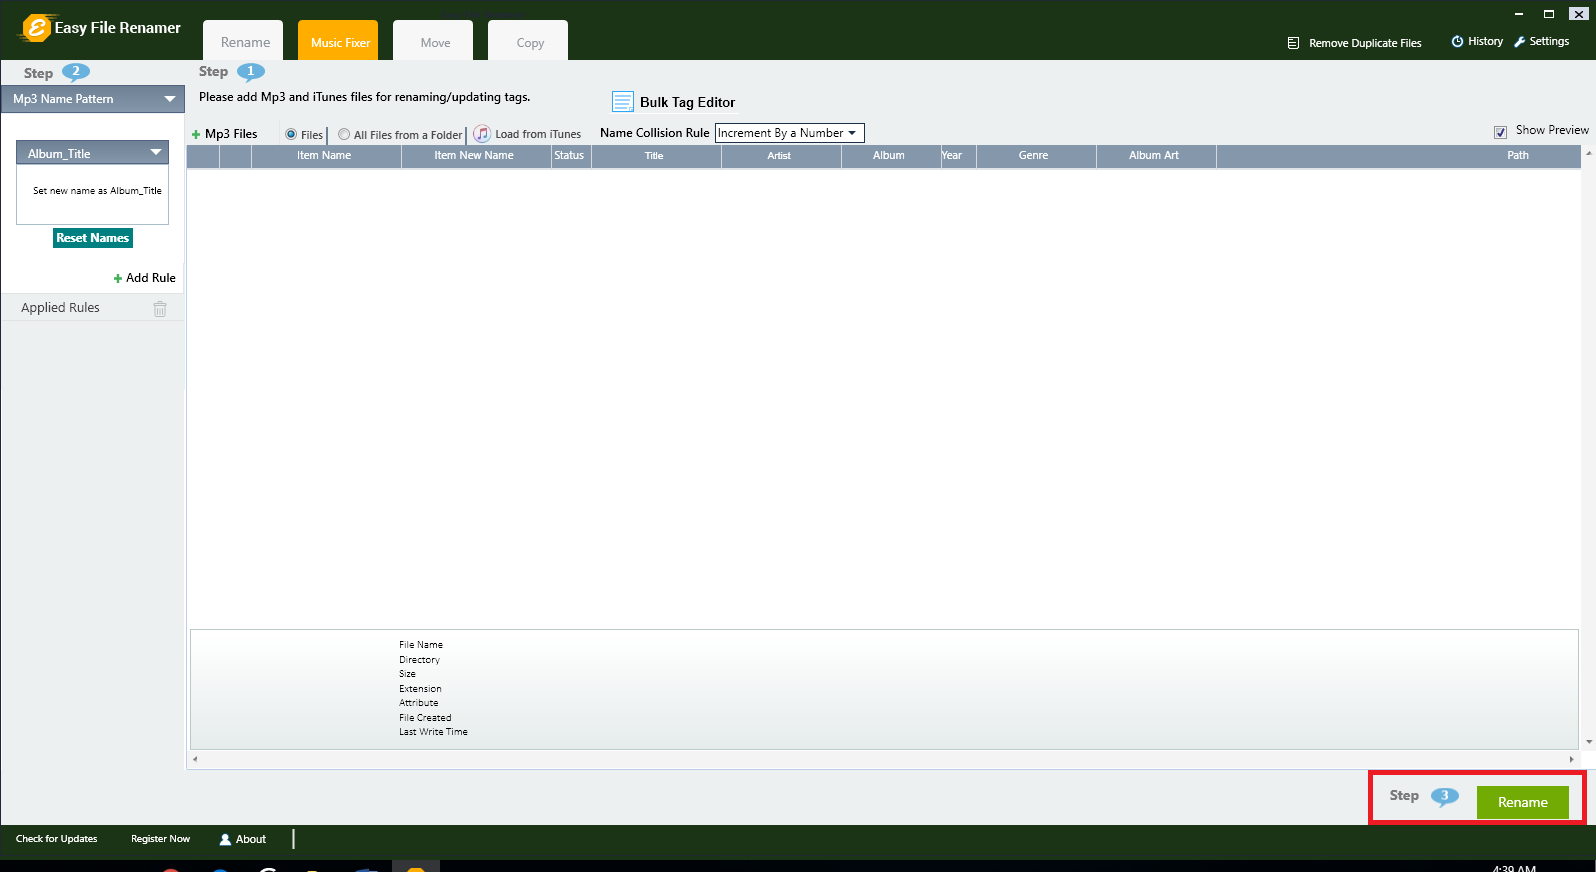
Step #3: After you’ve added the MP3 files you want to rename you’ll need to select the rules to rename them, just like you had to select rules for renaming files in the steps outlined above. Besides the usual file renaming rules to make use of, there are also 4 MP3 specific rules to choose from.
Step #4: If you want to edit MP3 file tags in bulk, click on the Bulk Tag Editor button. A new window will pop-up and facilitate you in entering new information for the Artist, Album, Year & Genre tags. You can also add/remove the image associated with the selected songs. Alternatively, if you want to edit the metadata for individual files then you can click the orange colored pencil icon just before the concerned song’s filename in the Easy File Renamer interface’s Music Fixer section.
Step #5: After you are done adding the renaming rules and/or tags, simply click on the green Rename button located on the bottom right of the screen. The resulting operation will spring into action at once and will be over momentarily.
Hypervisor-protected code integrity, simply known as Memory Integrity in Windows 11, is used to shield…
The 1040-X is also known as the Amended U.S. Individual U.S. Income Tax Return form.…
Accountants manage tax return files as one of their services, and if they have many…
Whether music is your biggest passion or you only hear it from time to time,…
Both Google Photos and OneDrive are one of the biggest and most popular online cloud…
Google Photos is a single place to store all your photos, sync, and share them…