We often find it very frustrating to remove duplicate files from various kind of storage media. Taking care of duplicates is highly recommended, or the duplicates can quickly snowball into a monstrous issue. Today we’ll look at how to remove duplicates from an SD card.
One such software which can deal with removable media duplicates for good is Clone Files Checker. This article sheds light in a stepwise manner on how to get this job done.
Clone Files Checker for Windows and Mac is a verified software
Compatible with Windows 10/ 8.1/ 8/ 7 and Mac OS 10.10 onwards
By clicking to download, you agree to these Terms
See Windows Features | Mac Features
Clone Files Checker is designed to scan into great details while looking for duplicates. It even minutely scrutinizes the content of each file and compares it with all others of the same type, this ensures you can root out an actual duplicate file even if it is named differently from the parent file. It also provides filters to help you setup a scan for specific file types. For music lovers, it has separate provisions to scan for iTunes duplicates as well as ordinary music files! All in all, this is indeed one of the most comprehensive duplicate weeding software out there.
Cleaning up duplicates allows you to free up precious space and organize data effectively, which helps speed up searches for a particular file in the future as well as cutting down on cloud storage subscription costs.
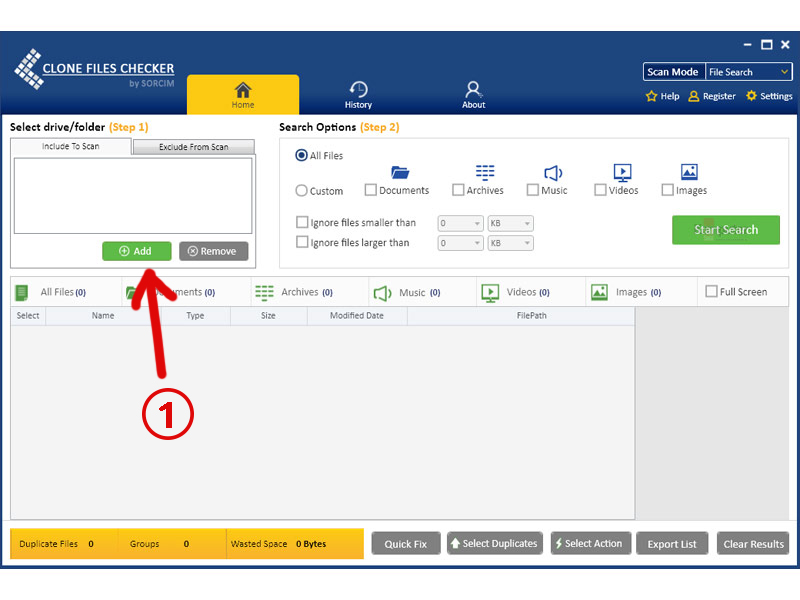
Simply add up the drive you wish to scan for duplicate files.
Once the device (SD card in this case) has been added, it would show under the Include to Scan tab. Now either select the file types you wish to scan or select All Files and then click the Start Search button.
Once the duplicate scan is over (and at least 1 duplicate is detected), Clone Files Checker will show up a message stating the number of duplicates detected and the disk space they were occupying on the SD card.
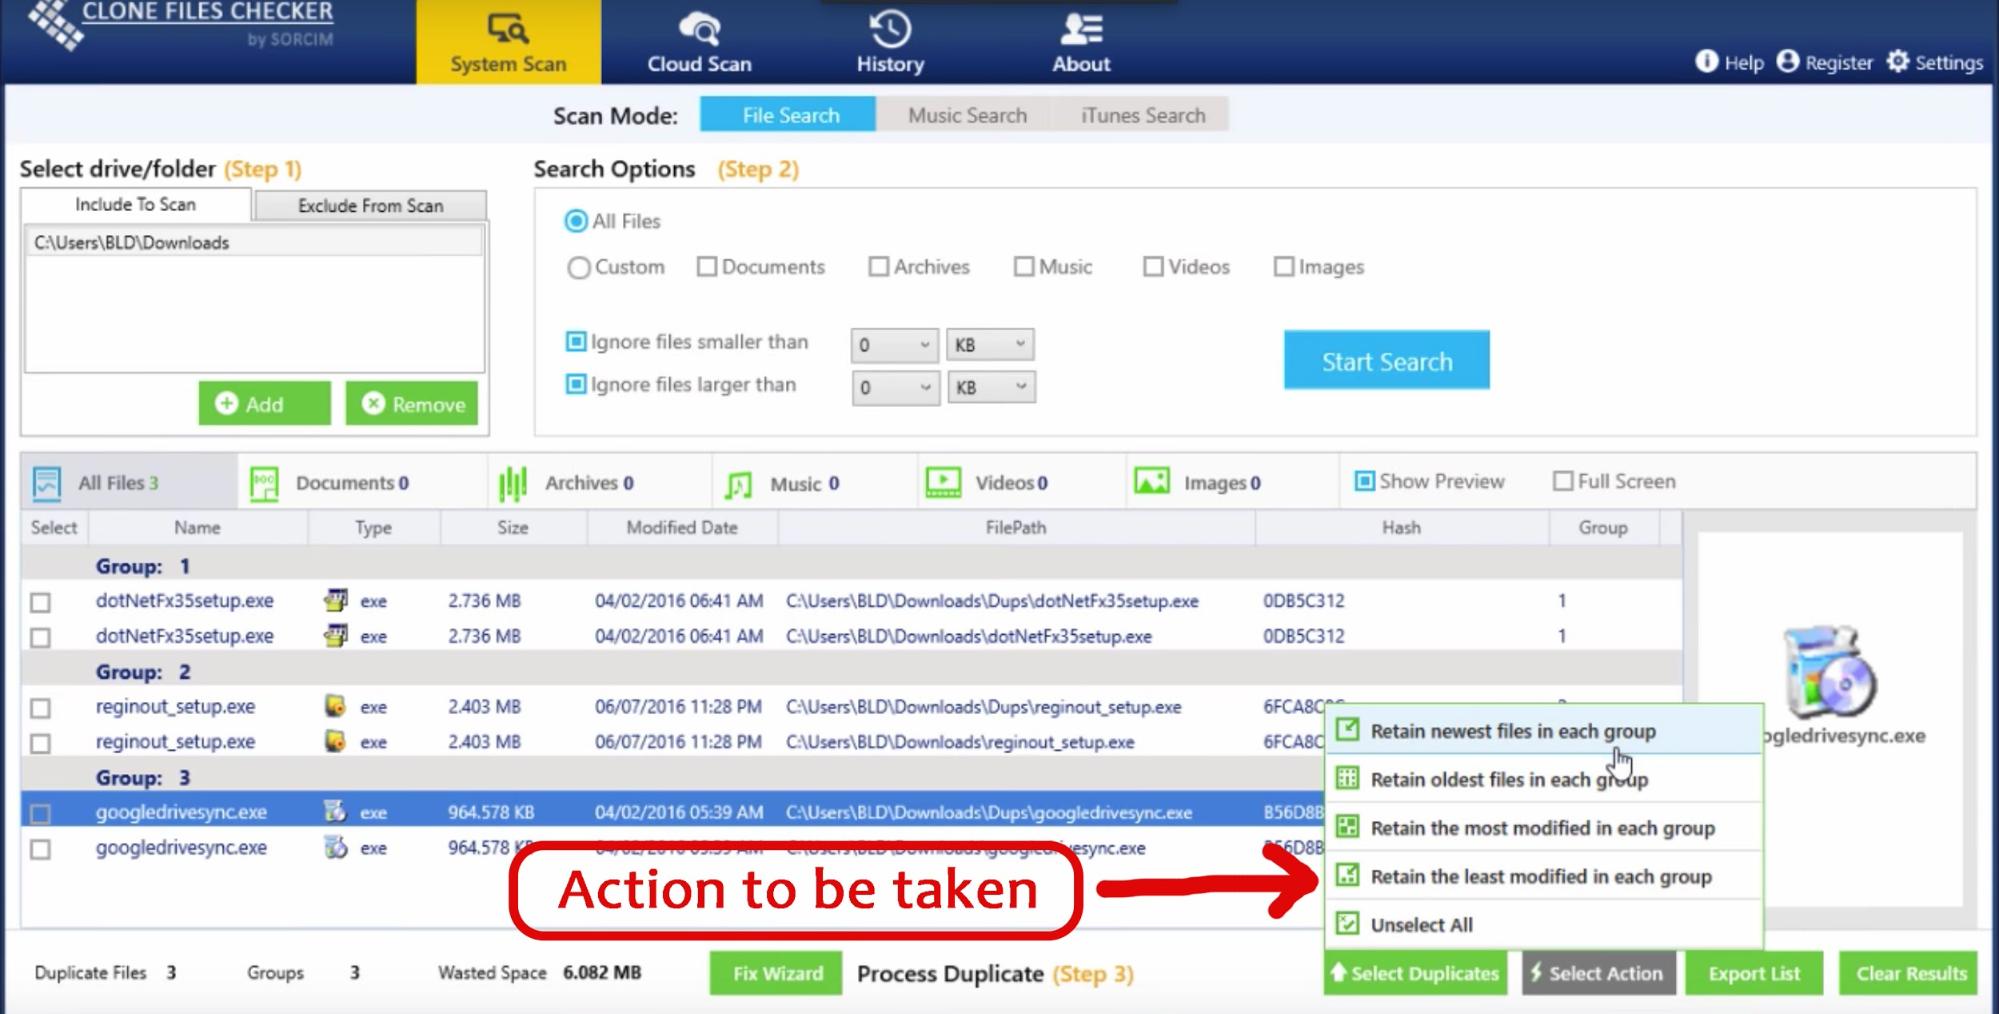
You can use the Fix Wizard option for deciding on a uniform course-of-action for all duplicates or Review & Fix to specify different operations for various groups of duplicates.
If you chose the Review & Fix option in the last step, next you should choose an appropriate action via the Select Action button on the bottom right-corner of the Clone Files Checker user interface. There are few actions available to remove the duplicate files.
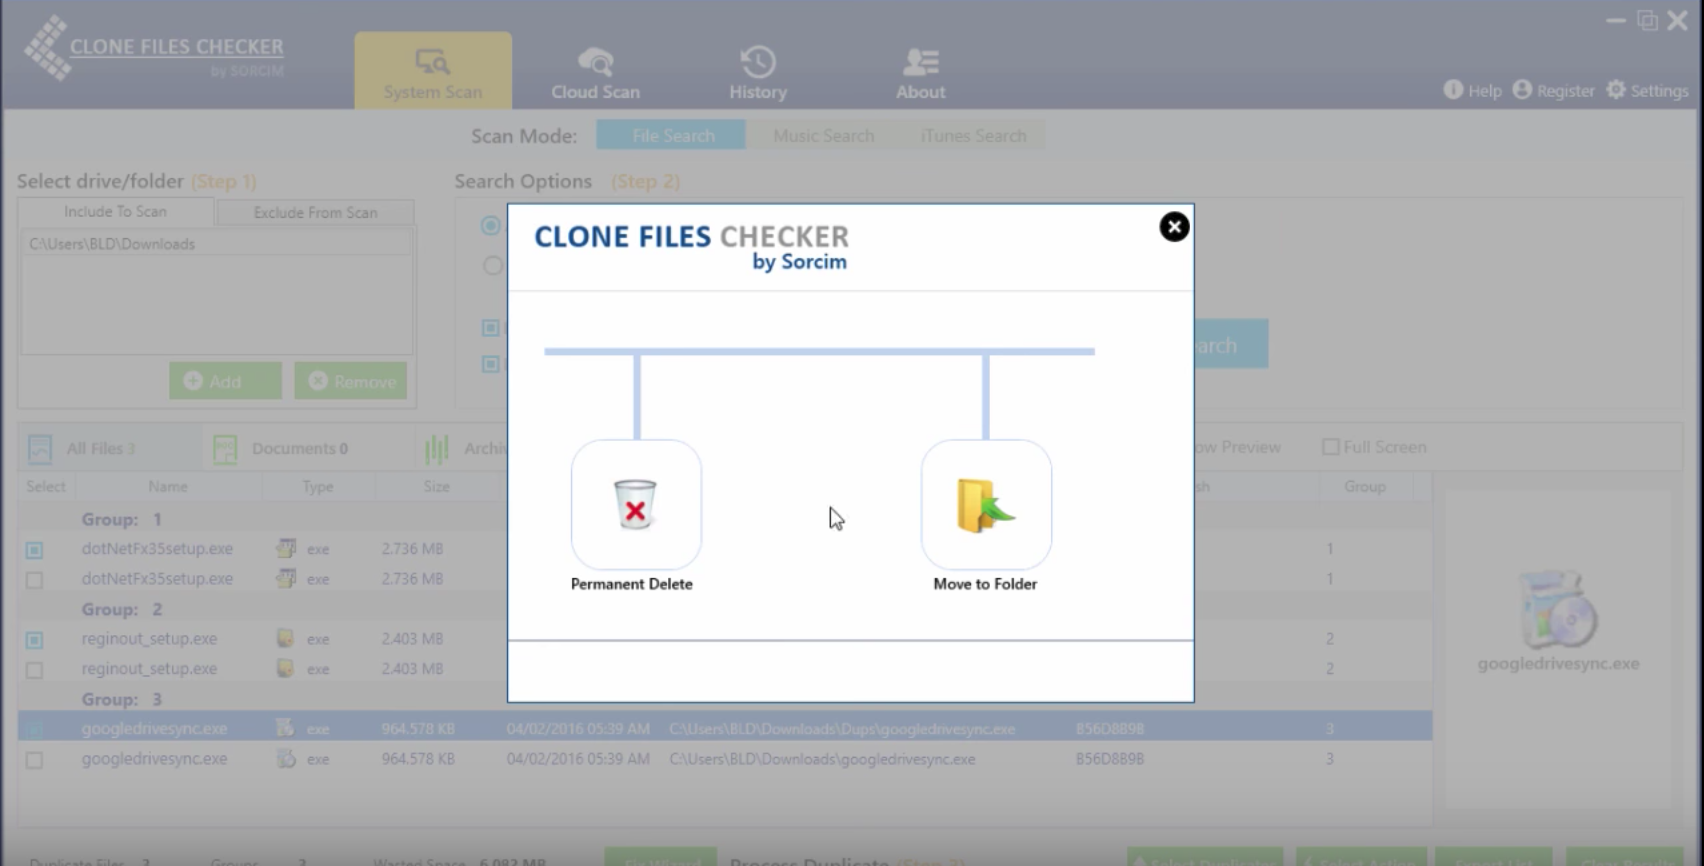
Next, you will be provided with 2 options (see the screenshot above). Permanently deleting them would remove all the data whereas move to a folder might prove handy in the future if you need to restore any file. Clone Files Checker also recommends you create a backup before cleaning up the duplicates.
That’s it! Getting rid of duplicate files is over in a flash and is always as accurate as it can be courtesy Clone Files Checker.
Hypervisor-protected code integrity, simply known as Memory Integrity in Windows 11, is used to shield…
The 1040-X is also known as the Amended U.S. Individual U.S. Income Tax Return form.…
Accountants manage tax return files as one of their services, and if they have many…
Whether music is your biggest passion or you only hear it from time to time,…
Both Google Photos and OneDrive are one of the biggest and most popular online cloud…
Google Photos is a single place to store all your photos, sync, and share them…