Google Drive provides 15 GB of limited storage quota to all freemium users. There are several factors that impact your Google account storage, including email messages, attachments, Google Drive files, Google Photos, all take their toll on your limited Google Drive storage space.
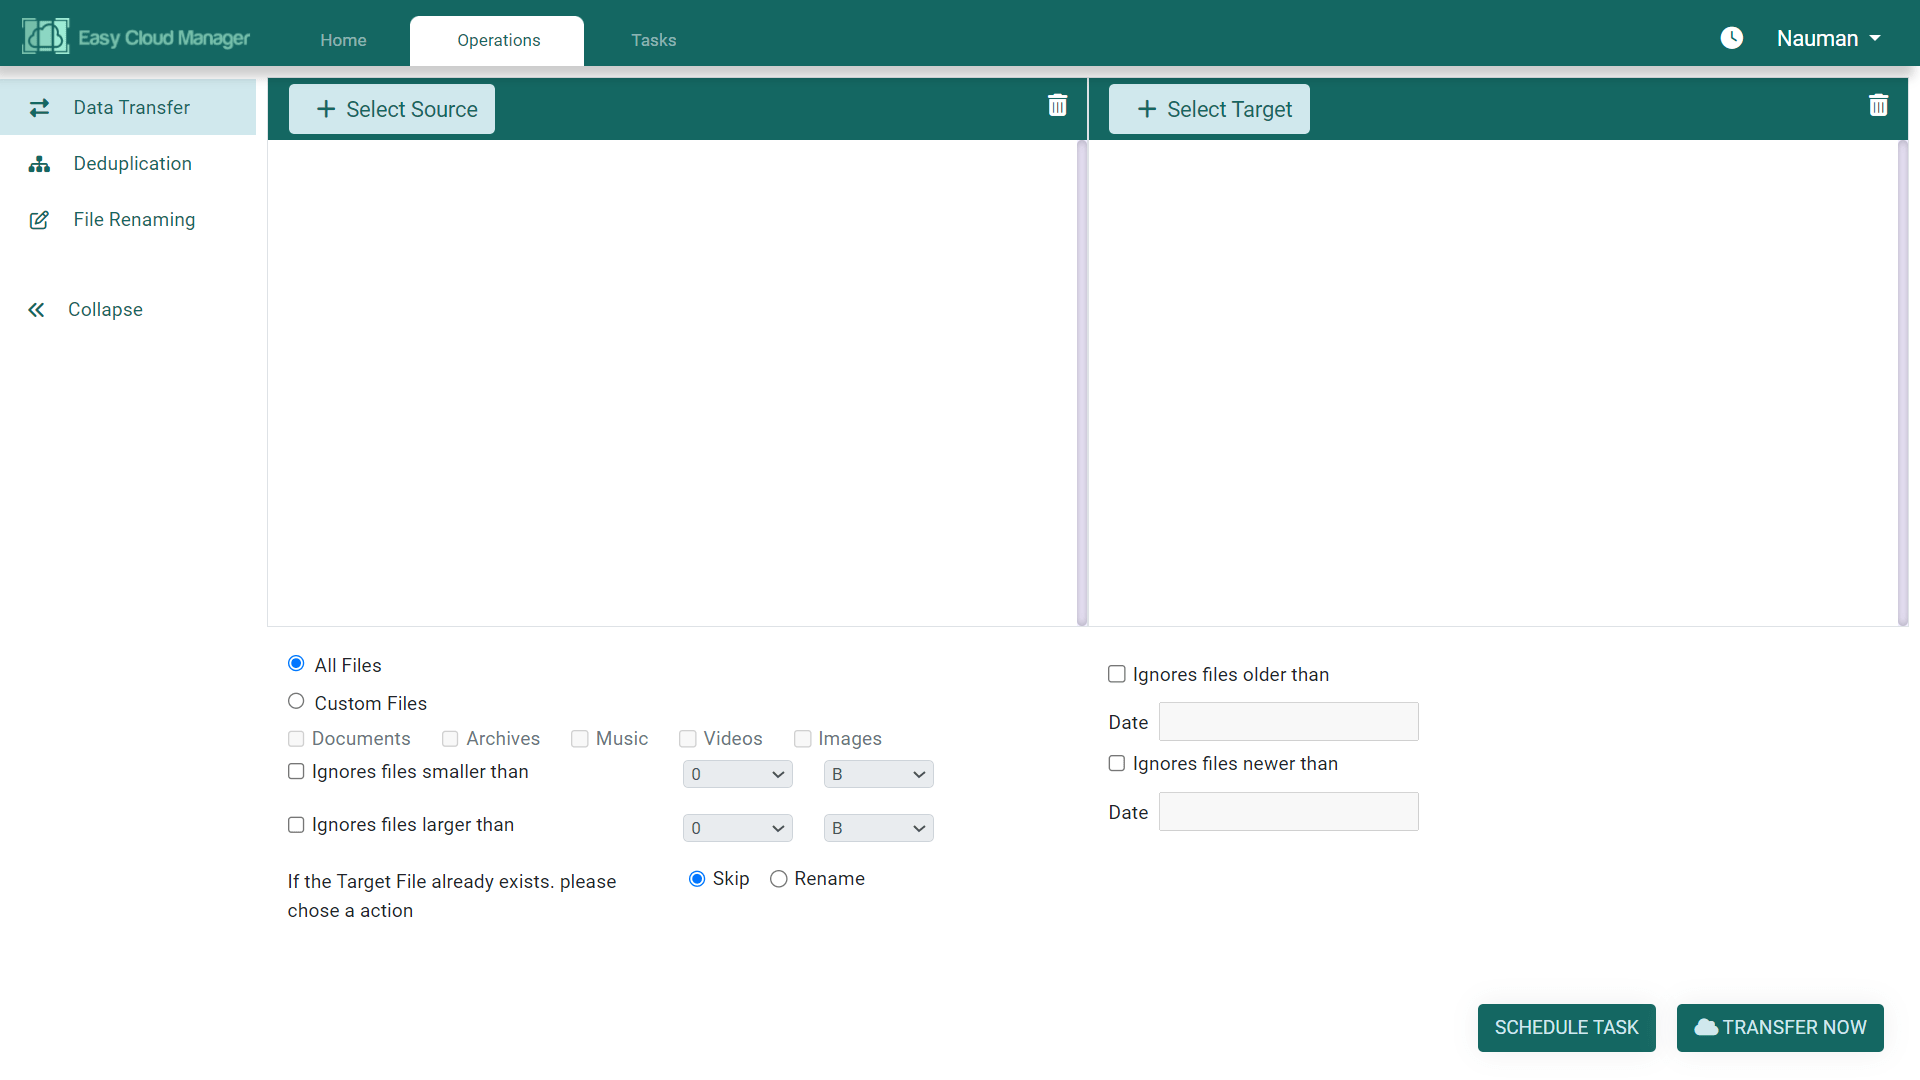
Product Spotlight: EASY CLOUD MANAGER (ECM) to transfer files across clouds. ECM uses official cloud APIs and provides amazing options to manage files on cloud. Use it free here: https://www.easycloudmanager.com/
If you’re running out of your Google account storage, you’re probably thinking to let go of all of your older emails to free-up your storage. But believe me, it’s not a good idea to blindly delete old emails. You may still need them when you’re trying to look at something important in the future. Some of your emails might still hold value, if not today, definitely someday in the future.
Want to know how to get more out of your Google storage without wiping out your older emails? Read on as we explain how to migrate your Gmail messages to Office 365 and then cover a comprehensive guide with tips to optimize your Google account storage.
Migrating Gmail Messages to Office 365
Migrating your Gmail messages to Office 365 is much easier than you think. You just have to follow a simple wizard to export and then import your data.
Remember, the following procedure will only migrate your emails, not any other stuff associated with your account. For example, you may not be able to migrate your calendar events, contacts.
Step 1: Export your Gmail Messages to Outlook Data File (.PST)
First things first, we’ll need to export your Gmail emails to an Outlook Data File (.PST) on your computer.
There are two methods to accomplish it. We recommend the first one as it is simple, straightforward and takes less time. Moreover, you won’t need to download an external file conversion plug-in onto your PC.
Method 1: Export Emails Using Microsoft Outlook
We assume that you already have your Gmail account added into Microsoft Outlook. If you already have, skip over to Step-II.
Step-I: Add Gmail Account in Outlook
- Click File on the upper left corner, and select Add Account.
- Type your Gmail email address and click on Connect.
- Outlook will redirect you to the Gmail login page where you need to enter your password. Click on Sign in.
- Do you have 2-Factor Authentication activated? If yes, type your One-Time Password (OTP).
- Click on Yes when asked to provide the required account access privileges.
- Click Done to finish the process.
Step-II: Export Outlook Data to a File
Outlook makes it easy to export and import data to/ from a file. Here’s how to export your Gmail data to a .PST file:
- Open Microsoft Office Outlook.
- Click File and choose Open & Export.
- Choose Import/ Export.
- Outlook will now display the Import and Export Wizard.
- Select Export to a file. Now click on Next.
- Select Outlook Data Files (.PST).
- Outlook will prompt you to select the source account. Select your Gmail account you want to migrate emails from.
- Make sure to check Include subfolders.
- Click on Next.
- Specify the full path with a filename to export your Outlook data. For example, C:\Users\%username%\Documents\Gmail_Data.pst
- Click on Finish.
- Outlook will prompt you to enter a password to protect your Outlook Data file. This step is optional and you can simply leave the fields blank and click OK to skip.
Method 2: Export Emails Using Google Takeout
Another method is to export your Gmail data to a .PST file using the Google Takeout service. Google Takeout enables users to create (and download) an archive of their data (such as emails, photos, calendar, contacts, etc).
But there’s a catch. Google Takeout does not export your Gmail messages directly to the .PST file format. You will need a third-party conversion utility to convert your exported file into the .PST format.
Step-I: Download Your Google Data
- Sign in to your Google account and go to the Google Takeout page.
- In the Select data to include, choose Mail.
- Click on Create an archive.
- Select your desired delivery method. For the purpose of this tutorial, we’ll choose to send the download link via email.
- It may take some time to create an archive. Once the archive is ready, you will receive an email to download it. If you’ve selected another delivery method like Google Drive, the archive will be automatically uploaded to it.
- Download the archive to your computer.
Step-II: Convert your Downloaded Data to the .pst File
- Download freeware Convert MBOX to PST Add-In for Microsoft Outlook.
- Open it and click on the Utilities tab.
- Specify the full path of your MBOX file name.
- Type a destination full file path in the .PST format.
- Click on Run.
Step 2: Import your Data into Office 365
After exporting your data, it’s time to import it to your Microsoft Office 365 account. You must add your Office 365 account into Outlook in order to import the data.
Step-I: Add Office 365 Account in Outlook
Just repeat over the same steps we’ve already discussed above for adding a Google account. Enter your Office 365 email address and password instead of your Google account credentials.
Step-II: Import your Data File
- Open Outlook.
- Click on File and now hit the Open & Export.
- Select Import from another program or file, and then click Next.
- Select the Outlook Data File (.PST) format.
- Browse the Outlook Data File (.PST) that you created earlier and click on Next.
- Select the Outlook Data file and select the Include subfolders option.
- Select your Office 365 account in the Import items into the same folder in the drop-down menu.
- Click on Finish.
Save Your Google Account Storage
If you use Gmail as your primary email account, you might have to occasionally free-up storage. Here’s how you can hunt down duplicate files, delete obsolete emails and those with large email attachments.
Delete Duplicate Files Stored on Google Drive
Duplicate files can eat up significant storage. The regular file syncing activities, uploading everything online can end up with multiple versions of the same file in different folders on Google Drive. You can free up your storage and get back loads of space by scanning your Google Drive for duplicate files. Thankfully, you don’t have to compare files manually. You don’t even need to download any software to your PC. You can automate the entire procedure using a simple Web-based utility.
- Visit the Cloud Duplicate Finder website (cloudduplicatefinder.com) and register your new account.
- Select the Google Drive tab.
- Click on the Add New Drive button.
- Login to your Google Drive account and provide the required permissions to the CDF service.
- Select your desired folders from the sidebar on the left.
- Select All Files and hit Scan.
- Once the duplicate results are shown, use the Select Duplicates button to automatically select files using your desired pattern.
- After selecting the files, click on Select Action and choose whether to delete or move your files.
Delete Emails with Large File Attachments
Over time, you might have accumulated hundreds of emails. One of the most effective ways of cleaning a large chunk of storage is to delete emails with large file attachments.
Open Gmail.
Type one of the following queries in the Gmail Search box:
Find emails with attachments sized more than 1 MB:
size:1048576
Find emails with attachments sized more than 2 MB:
size:2097152
Find emails with attachments sized more than 5 MB:
size:5242880
To batch delete emails from the search results, use the checkbox on the top of the emails list and click on the Delete icon.
Find Very Old Emails (More than 10+ years ago)
We don’t recommend deleting emails sent just 2-4 years ago. You might still need them. But you surely won’t need an email sent 10 years back, will you?
Remember back in 2004 when Gmail was new, you created your own account and sent emails to people just for fun. You might not need those emails now unless you want to relive those early memories. Still, we recommend that you first backup all emails to a file (as already explained above) and then delete emails older than 10+ years to free-up storage. Here’s how:
Search all emails sent/ received before 2010:
before:2010/01/01
Search all emails sent/ received during 2004-2010:
after:2004/01/01 before:2010/01/01
Search all emails sent/ received from a user donald@trump.com before 2010:
before:2010/01/01 donald@trump.com
Search all emails sent/ received from a user donald@trump.com containing the word “business”
before:2010/01/01 donald@trump.com business
Disable Third-Party Apps From Eating-Up Your Google Drive Storage
Do you use the same Gmail account on your Android smartphone? WhatsApp and other popular messaging apps use Google Drive to periodically backup their data (such as chat conversations, media, etc). You can revoke permission to third-party apps from eating up your Google Drive storage.
- Open the Google Drive Quota page. Alternatively, go to Google Drive, and select the Storage option on the left-hand side panel.
- Select Backups.
- You’ll see a list of all backups stored on your Google Drive account.
- To delete a backup, right-click on it and select Delete Backup.
- To revoke access to an app, click on the Settings icon on the top. Go to the Manage Apps tab, and revoke access to that app.

Warning: Undefined array key "author_box_bio_source" in /home1/clonefil/public_html/blog/wp-content/plugins/molongui-authorship/views/author-box/parts/html-bio.php on line 2
Raza Ali Kazmi works as an editor and technology content writer at Sorcim Technologies (Pvt) Ltd. He loves to pen down articles on a wide array of technology related topics and has also been diligently testing software solutions on Windows & Mac platforms. If you have any question about the content, you can message me or the company's support team.